How to interpret your scan results
A walkthrough of your scan results page — what the tabs mean, how to use filters, and how to decide what needs your attention.
Opening your scan results
You can access the results of any scan from your dashboard by clicking on the scan in your website's scan history. If errors were found, you will also receive an email with a direct link to the results.
The three tabs
Your scan results are organized into three tabs, each representing a pre-filtered view of the data:
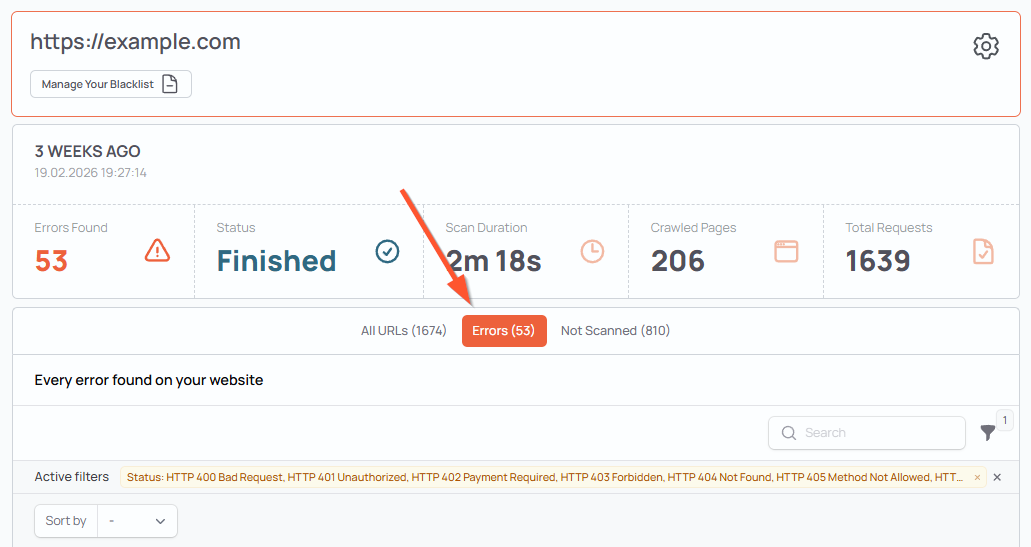
All Urls
Shows every URL that was crawled during the scan, regardless of status. Use this tab if you want a complete overview or if you are looking for a specific URL. This is the default tab when no errors were detected.
Errors
Shows all URLs with a status code of 400 or higher, as well as connection failures. This is the default tab when errors are detected and is the best place to start. These are the URLs that need your attention.
Not Scanned
Shows all URLs that were skipped during the scan — either because they matched an entry in your blacklist, the global blacklist, or because they are excluded by your website's robots.txt file.
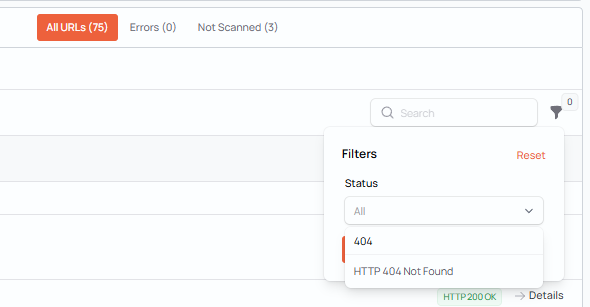
Adjusting the filter
The tabs are simply pre-configured filters. You can adjust the status code filter at any time to show exactly what you are looking for — for example, only 404 errors, or only 5xx server errors.
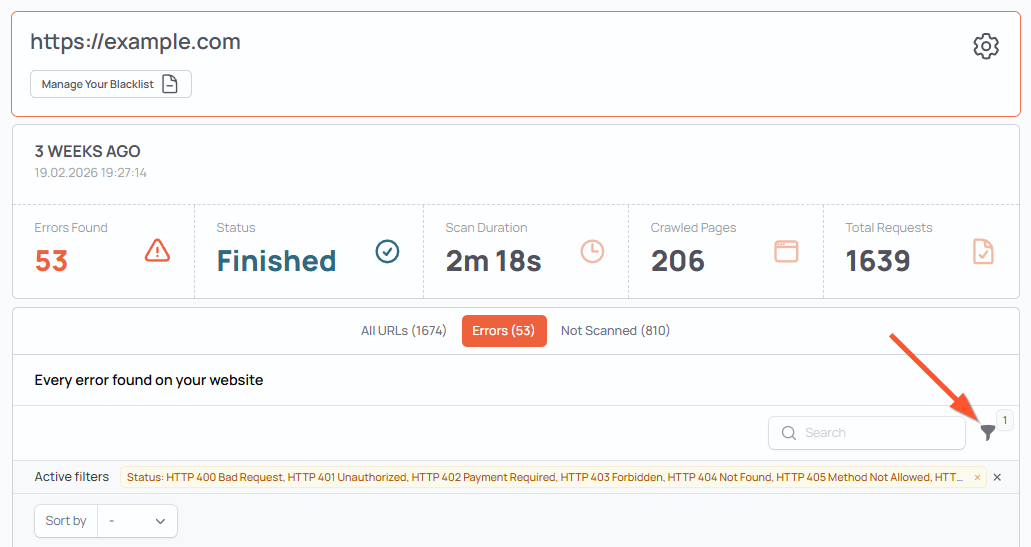
The filter is searchable — just type a status code or keyword to quickly find the relevant entries.
You can also search for a specific URL using the search field.
What each column means
URL — the full address that was crawled. You can copy it directly from the results.
Link Icon — opens the URL directly in a new tab so you can inspect it yourself.
Status — the HTTP status code or connection result returned for that URL. Color-coded for quick scanning: green for success, yellow for redirects, red for errors, gray for skipped URLs.
For a detailed explanation of every status code and what to do about it, check out our HTTP Status Code Reference →
Deciding what to do
When you open your results, the goal is to end up with a clean Errors tab — no unresolved issues. For every URL in the Errors tab, you have two options:
Fix the issue — update the link, restore the page, or investigate the server error
Add to blacklist — if the error is a false positive or an external URL you cannot control, add it to your blacklist so it is excluded from future scans
You can add any URL to your blacklist directly from the results by clicking the action button next to it. For more details on when to use the blacklist, check out our How to use the blacklist → guide.
Details view
Each URL in the results has a details button that opens a modal with additional information — including the response time and content type. This can be helpful when investigating unexpected results.