Getting Started with the WordPress Plugin
Learn how to connect your WordPress site to dislike404.com and trigger scans directly from your WordPress admin panel.
The dislike404.com WordPress plugin lets you trigger a website scan directly from your WordPress admin panel — no need to log in to dislike404.com every time.
What you'll need
Before you start, make sure you have:
At least one website added in your dislike404.com account
WordPress 6.0 or higher with PHP 8.0 or higher
Step 1 — Install the plugin
Add the dislike404.com Scanner plugin to your WordPress installation:
1. Install the plugin by searching for "dislike404" in the WordPress plugin installer, or download it directly from WordPress.org.
2. Activate the plugin through the Plugins menu in WordPress.
3. Go to Settings → dislike404.com and enter your API token from dislike404.com.
4. Select the website you want to link to this WordPress installation.
5. Optionally enable the "Scan Now" button in the admin bar.
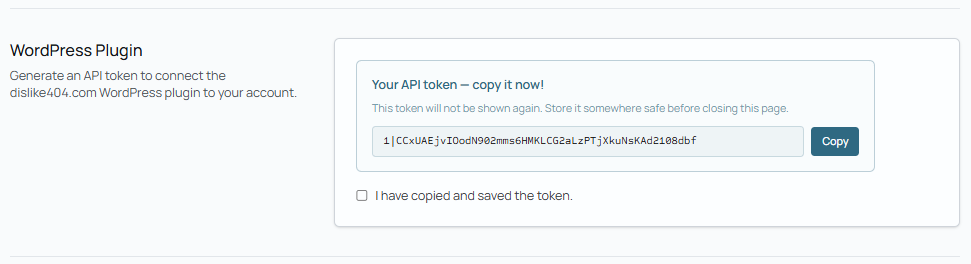
Step 2 — Generate an API token
The plugin communicates with dislike404.com using an API token. You only need to do this once.
1. Log in to dislike404.com
2. Go to your Profile (top right menu)
3. Scroll down to the WordPress Plugin section
4. Click Generate Token
5. Copy the token immediately — it will only be shown once. If you lose it, you can generate a new one at any time, which will invalidate the old one.
Step 3 — Configure the plugin
1. In WordPress, go to Settings → dislike404.com
2. Paste your API token in the API Token field
3. Click Save Settings
4. A dropdown will appear — select the website you want to link to this WordPress installation
5. Optionally enable Show "Scan Now" button in the WordPress admin bar for quick access from every page
6. Click Save Settings again
Step 4 — Run your first scan
Once configured, you can trigger a scan in two ways:
From Settings → dislike404.com, scroll down to Scan Now and click Run Scan Now
From the admin bar at the top of any WordPress page, click Scan Now (if you enabled it in Step 3)
The plugin will show the scan status in real time. Once the scan is complete, you'll see a summary with the number of errors found and a direct link to the full report on dislike404.com.
Troubleshooting
"Invalid API token" — Double-check that you copied the full token including the number and pipe character at the beginning (e.g. 3|AbCdEf...). If it still doesn't work, generate a new token in your dislike404.com profile.
"Could not connect to dislike404.com" — Check that your WordPress server can make outgoing HTTPS requests. Some hosting providers block these by default.
No websites appear in the dropdown — Make sure you have added and saved at least one website in your dislike404.com account before configuring the plugin.